


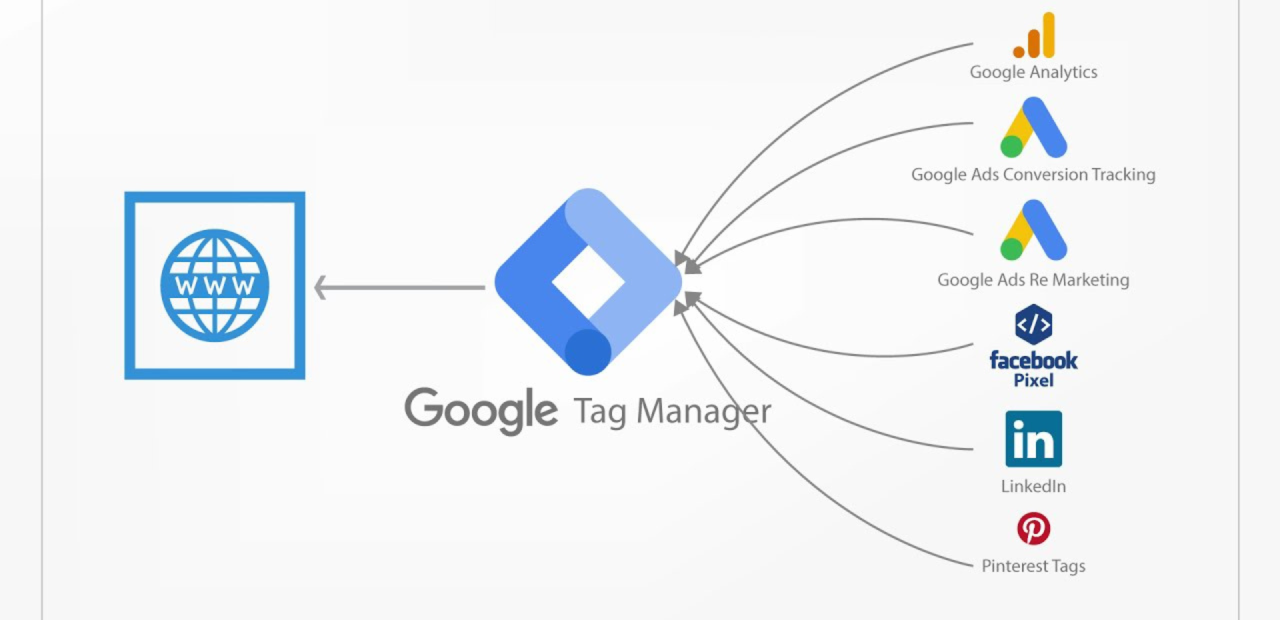
At Critical Marketing (located in Valdosta, GA and serving clients nationwide), we know that accurately tracking conversions is essential for making informed decisions about your marketing strategy. While Google Analytics 4 (GA4) automatically creates “events,” they can generate unnecessary data. We recommend using Google Tag Manager (GTM) instead to create custom events that precisely measure conversions that matter to your business.
Below, we’ll share the process we use to set up conversion tracking in GTM, with a real-world example from an HVAC company. Whether you’re tracking phone calls, form submissions, or other key actions, these steps will help you capture reliable data in GA4.
First Things First: Verify Your Tags
Before creating any conversions, make sure your GTM container is installed and functioning properly:
- Install Tag Assistant: If you haven’t already, add this browser extension for diagnosing Google tags.
- Check Your Container ID:
- Visit your website and open Tag Assistant to confirm which GTM container ID is firing.
- Open your GTM account and verify that the ID matches what you see in Tag Assistant.
- Double-Check Your GA4 Measurement ID:
- In Google Analytics, go to Admin → Data Streams.
- Select your website’s data stream and note the measurement ID (it starts with “G-”).
- Make sure this measurement ID is the one you’ve set up in GTM.
Pro Tip: Sites often have multiple GTM containers left over from old implementations. Be sure you’re working with the correct container before proceeding.
Understanding the GTM Building Blocks
GTM uses three main components to make conversion tracking possible:
- Variables – What do you want to track? (e.g., the text of a phone number or a contact form’s thank you page URL)
- Triggers – How does GTM know when the action happens? (e.g., a click on a phone number, a page view for a thank you page)
- Tags – These send the data to GA4
Setting Up Your Variables
Within GTM, navigate to the Variables section in the left-hand menu. You’ll see a set of default variables, but you may need to enable or configure new ones depending on your conversion goals. For our HVAC client example, we focus on:
- Click Text – Useful when someone clicks a phone number or an email link.
- Page Path – Great for tracking form submissions by detecting a specific “thank you” page.
If the variable you need isn’t listed, select Configure and enable it from the available options.
Creating Your Triggers
Once you know which variable you need, set up a trigger so GTM knows when to fire the tag.
Phone Click Tracking
- Go to Triggers and click New.
- Choose All Elements as the trigger type. (We find this more reliable than “Form Submission,” even for forms, because it captures all clicks accurately.)
- Select Some Clicks (not All Clicks, which would track every click on your site).
- Under the conditions, choose Click Text and set it to “contains.” Enter the phone number (for instance, if the last four digits of your phone number are 7828, type “7828” here).
- Name your trigger clearly, such as “Phone Click Conversion.”
Contact Form Submissions
Maybe you also need to track form submissions:
- Create another New trigger.
- Again, choose All Elements.
- Select Some Clicks.
- Use Page Path as the variable, set it to “contains,” and enter your unique thank you page (e.g., “/thank-you”).
- Name it “Contact Form Submission” or something descriptive.
Connecting GTM to GA4 with Tags
Now that your variables and triggers are set, you’re ready to link them to GA4:
- In Tags, click New.
- Select Google Analytics (ensuring it’s set for GA4).
- Paste your GA4 measurement ID and assign an Event Name (use underscores: e.g., “phone_click”).
- Under Triggering, choose the trigger you created (e.g., “Phone Click Conversion”).
- Give the tag a descriptive name (e.g., “GA4 – Phone Click”).
Testing (Don’t Skip This Step!)
One of the biggest perks of GTM is how it simplifies testing your setup before sending data to GA4:
- Click the Preview button in GTM.
- Enter your website URL in the preview pane.
- Perform the conversion action (e.g., click on the phone number).
- In Tag Assistant, look at the Preview section to see if your trigger fired.
- Check the Variables tab to confirm the text or page path you intended to track is indeed being recorded.
Finalizing Your Setup
After you’ve confirmed that everything’s working:
- Click Submit in GTM to publish your changes.
- In GA4, verify your new custom event is appearing under Key Events.
- Toggle off any default “events” in GA4 that you don’t need, keeping your data clean and focused on the metrics that matter to your business.
Why This Matters
Although setting up conversions in GTM can feel more involved than creating events directly in GA4, it offers:
- Greater Accuracy – Clearly defined, custom events reduce clutter and confusion.
- Verification – GTM makes it easy to test each conversion and ensure it’s working properly.
- Troubleshooting – If something breaks, you can quickly pinpoint where.
- Flexibility – Track almost any user action that’s important to your marketing goals.
At Critical Marketing, we’ve set this up for many clients across different industries. Once you’ve been through the process a few times, it becomes second nature—and it’s well worth the effort when you see how accurate your data becomes.
Ready to make the most of your marketing insights?
Contact us at [email protected] or call 229-999-0640 to learn how we can help you drive real, measurable results for your business.